Lamcraft Digital Memories
Create custom memorial bookmarks online!
For tech help call 1-888-540-7770
Live support available M-F, 8-5 Central time
Putting in Text and Working With Type
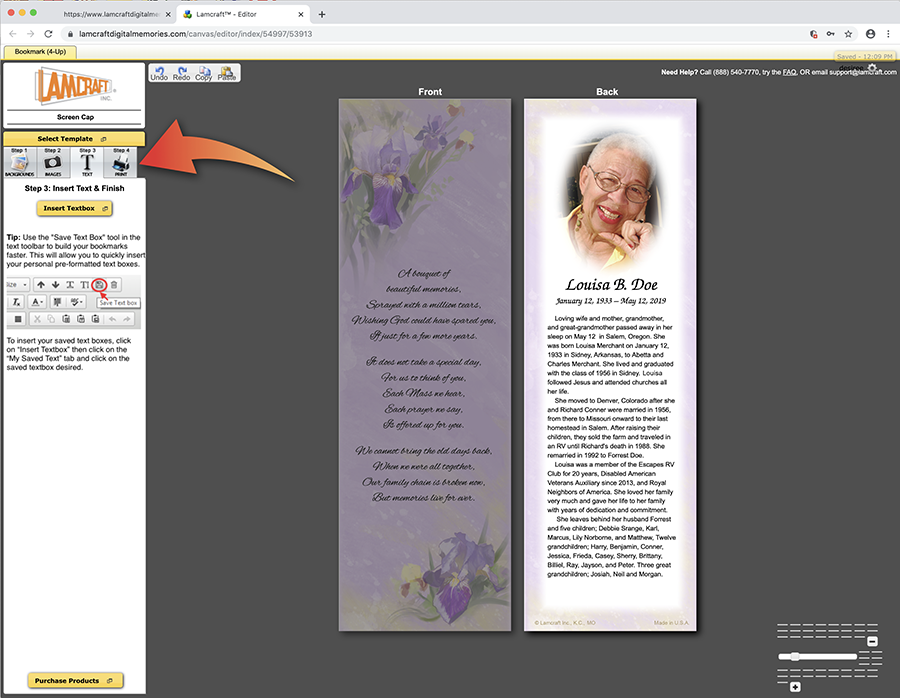
Placing and positioning the text on the bookmark is an important step in creating a customized keepsake. To begin, click on Step 3: TEXT. As in the previous step, you will then click on the yellow button that says “Insert Textbox.”

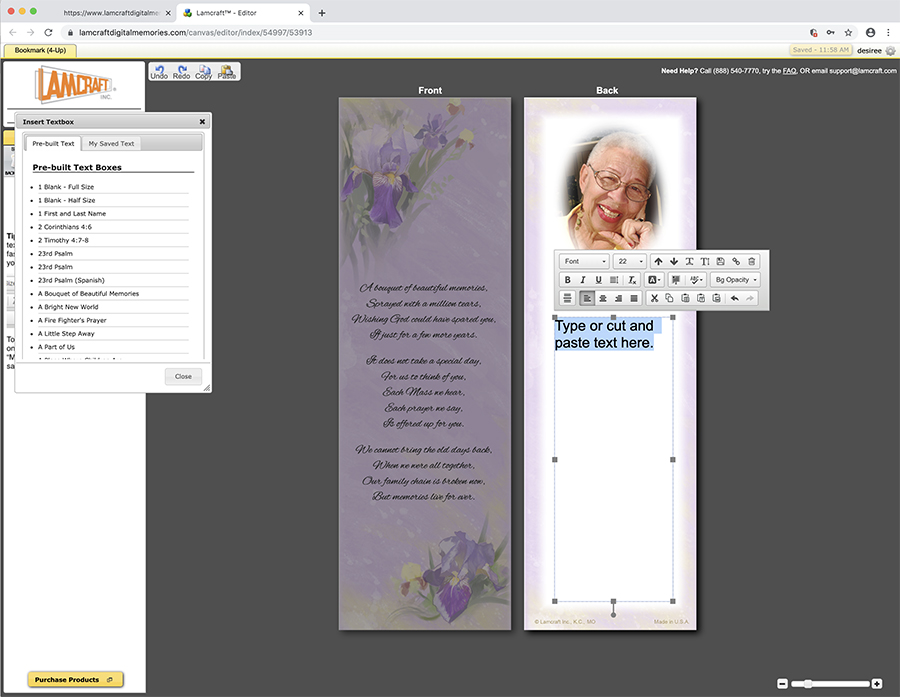
The box that pops up on the left offers a large selection of popular verses, as well as a pre-formatted box for Name and Dates, as well as full-size and half-size boxes for obituaries. We choose the verse “A Bouquet of Beautiful Memories” for the front of our bookmark. Some of our Micro-Perfs are available with the verse already printed on the front. In that case, you can click on the back to work with text.

As you can see above, when the verse appears on the template, it may or may not be correctly positioned for that particular bookmark design. You can move the textbox by clicking on it and moving it with your mouse. First, without clicking, move your mouse over one of the edges and wait for the pointer to turn into a hand. Then, you can click and hold down the mouse while you move the box.

You can select fonts, align text, increase or decrease line spacing, among other things using the text menu items. You may wish to explore the various options to make the text look exactly how you would like it to print.
Next, let’s work on the back side of the bookmark. This is where most obituaries are placed. Choose a Full Size or Half Size text box, then type in your text or cut and paste it from an existing document or website.
Some obituaries are quite long. If you use a font size smaller than 8 point, it may not be readable. We suggest editing your obituary to make it shorter, or perhaps choose a 3-up or 2-up Micro-Perf sheet, which have more space for text.
If you need to zoom in to read your text as you are working on your bookmark, at the bottom right of the Editor is this slider bar which you can use to enlarge the template.

Review your work carefully. There is a spell check included in the tool bar, which you may choose to utilize. A typical memorial bookmark looks like the one pictured below. If you are satisfied with your bookmark, then we are ready for Step 4: Print.